You are here: Foswiki>Frontend Web>SILECS>PLCSpecifics>Silecs_uploadControllerSources>Upload_Controller_Siemens (18 Aug 2022, AlexanderSchwinn)Edit Attach
-- MateuszNabywaniec - 17 Aug 2022
 Example of controller confuguration in silecsdeploy file:
 I recommand to use WinSCP program, which provides secure file transfer between computer and remote servers.
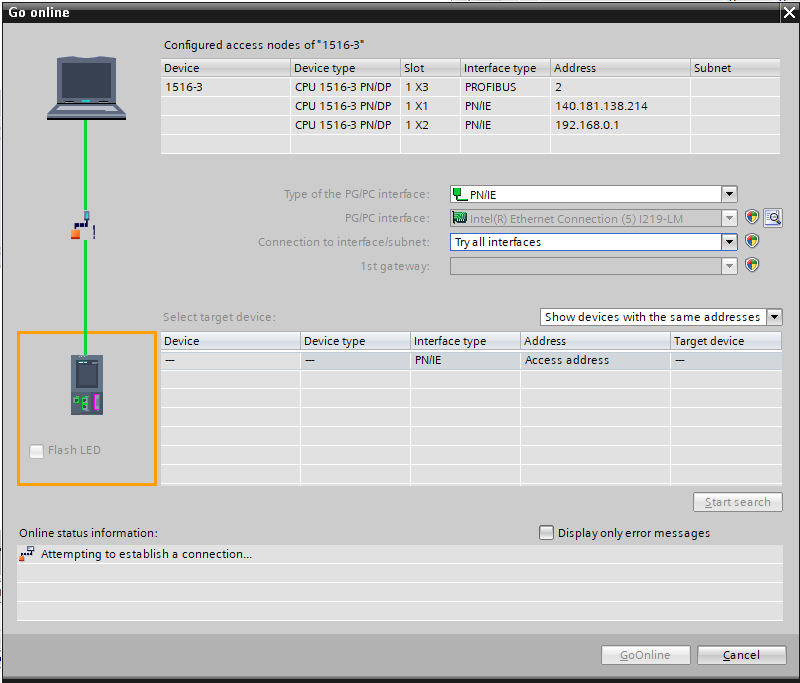
 Set IP addresses for interfaces as thwey are on PLC using Online-> Extended go online... on option (on top bar)
 What is important, according to set base-DB-number in silecsdeply file , please change manually address of Silecs Header DB to match that base DB number.

Siemens
- Siemens
-
- 1. TIA Portal installation
- 2. Create controller sources
- 3. Upload controller sources to PLC
-
- 1. Open project in TIA Portal or create new one.
- 2. Check connection to PLC.
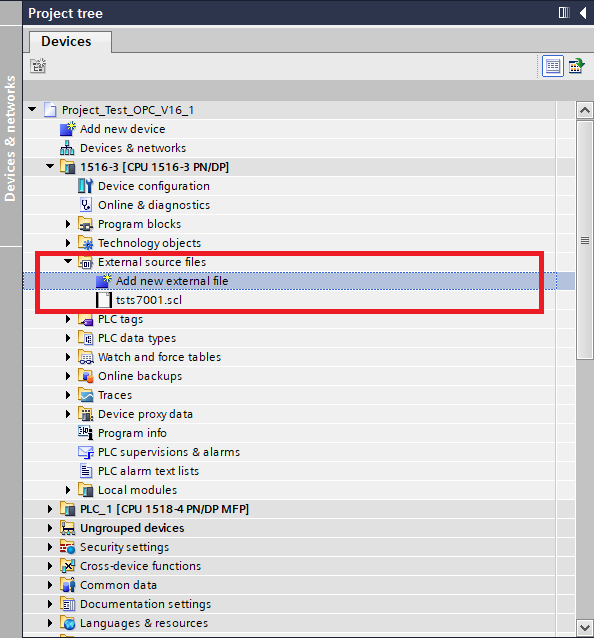
- 3. In project tree, for given device add new external file .scl generated using Silecs.
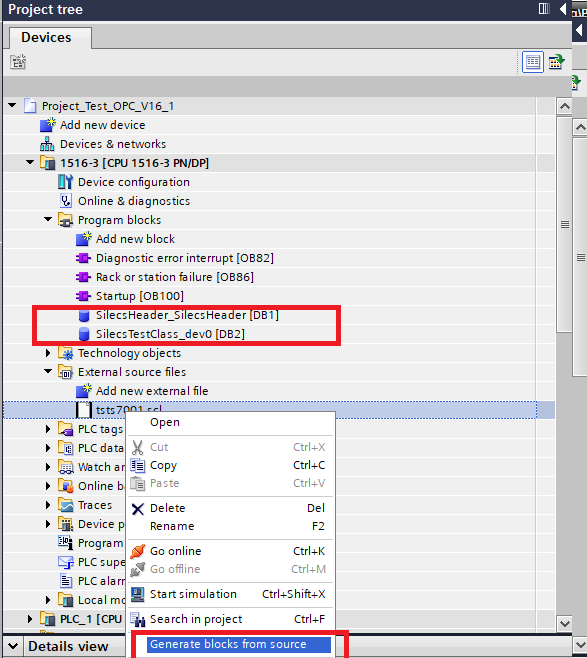
- 4. Choose scl file and generate data blocks from them. They will be named as you specified in Fesa.
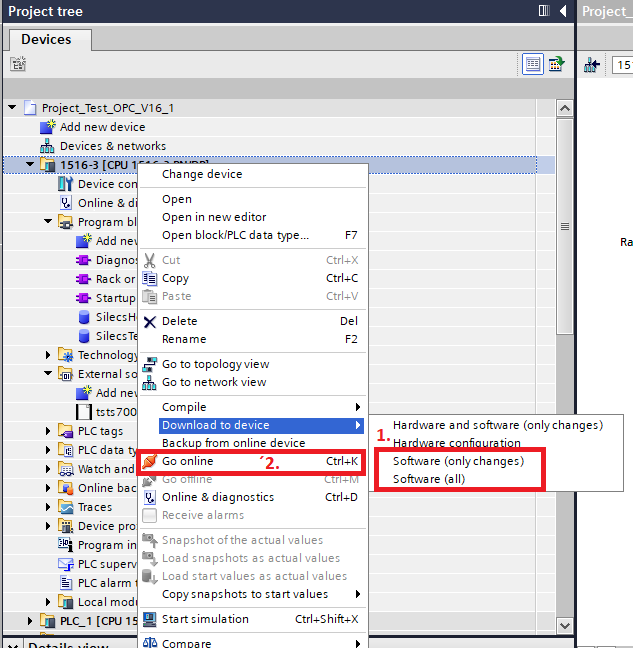
- 5. Download changes to device (1), and go online (2) to check if you see data from new data block.
-
- 4. Test communication
-
1. TIA Portal installation
To upload controller sources to Siemens PLC, you have install the TIA Portal, which is set of tools which provides an engineering framework for implementing automation solutions in all industries around the globe. Link: Download TIA Portal v16 Important:- To install TIA Portal on computer in GSI, you have to apply for localadmin account. Please follow that instruction how to get that rights.
- To install TIA Portal you have to register on Siemens webpage.
- TIA Portal is not a free software. After installation you can use that for 21 days without a license key.
2. Create controller sources
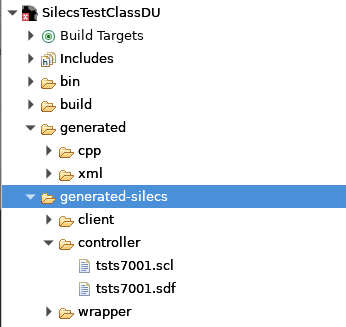
To create controller source code, please follow SILECS notes. During creating Fesa Deploy Unit, please update hostname of your PLC and choose righ type of controller (in that case Siemens-PLC). For Siemens PLC fill system, model, protocol, and base-DB-number fields .Important: base-DB-number defines the first data block number from which will store the controller code. Commandsilecs -g ~/path/to/workspace/MyDU/src/MyDU.silecsdeploygenerates the files which have to be loaded into the PLC(s). Files are generated to generated-sources/controller directory.
 Example of controller confuguration in silecsdeploy file:
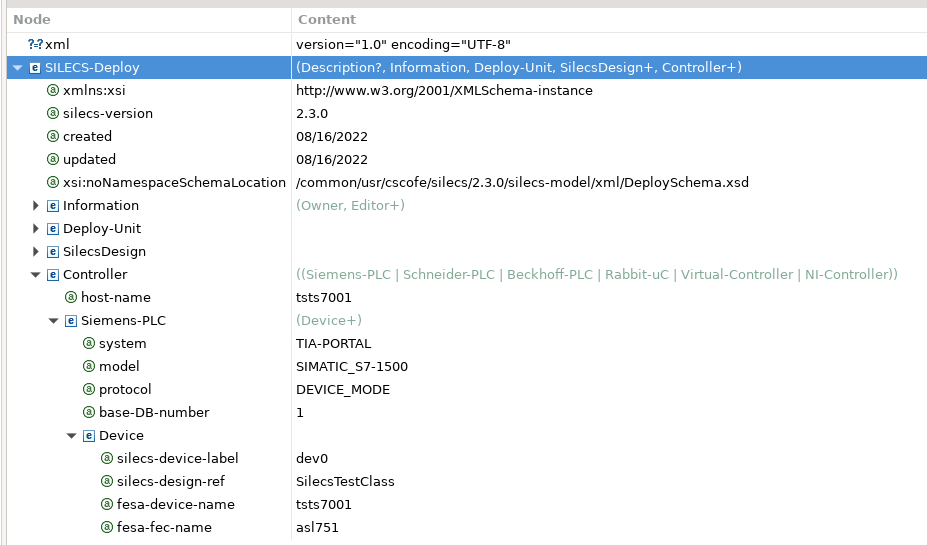
 I recommand to use WinSCP program, which provides secure file transfer between computer and remote servers.

3. Upload controller sources to PLC
1. Open project in TIA Portal or create new one.
2. Check connection to PLC.
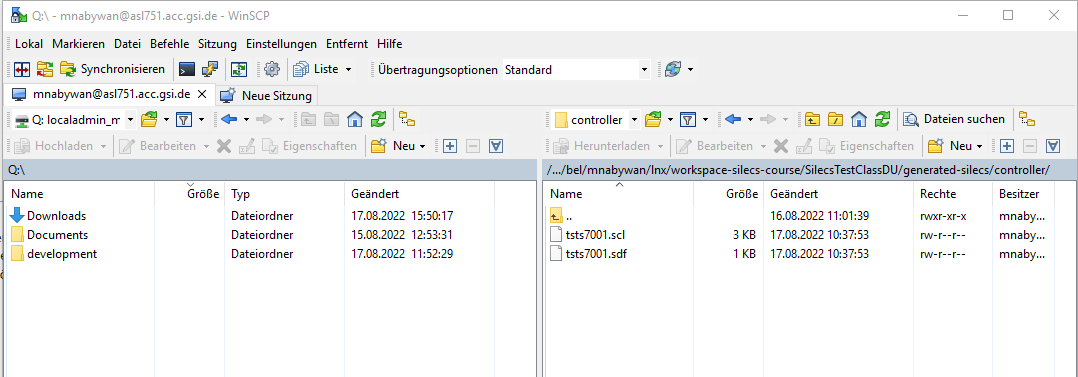
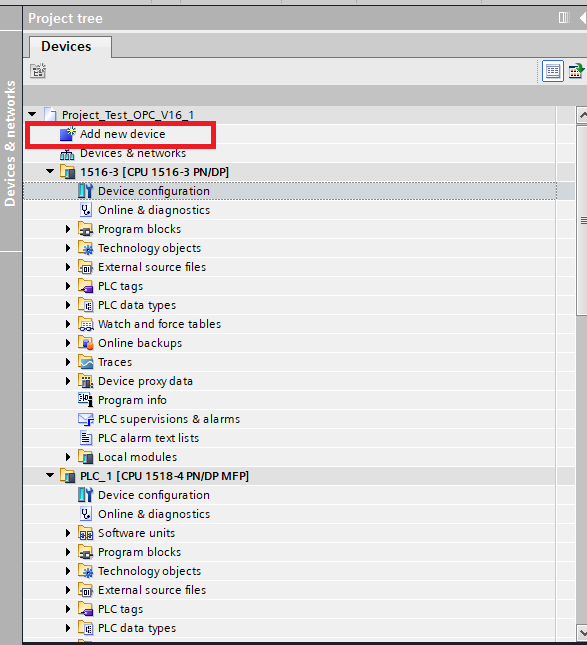
If you have not done that before add new Device in project tree. Set IP addresses for interfaces as thwey are on PLC using Online-> Extended go online... on option (on top bar)

3. In project tree, for given device add new external file .scl generated using Silecs.

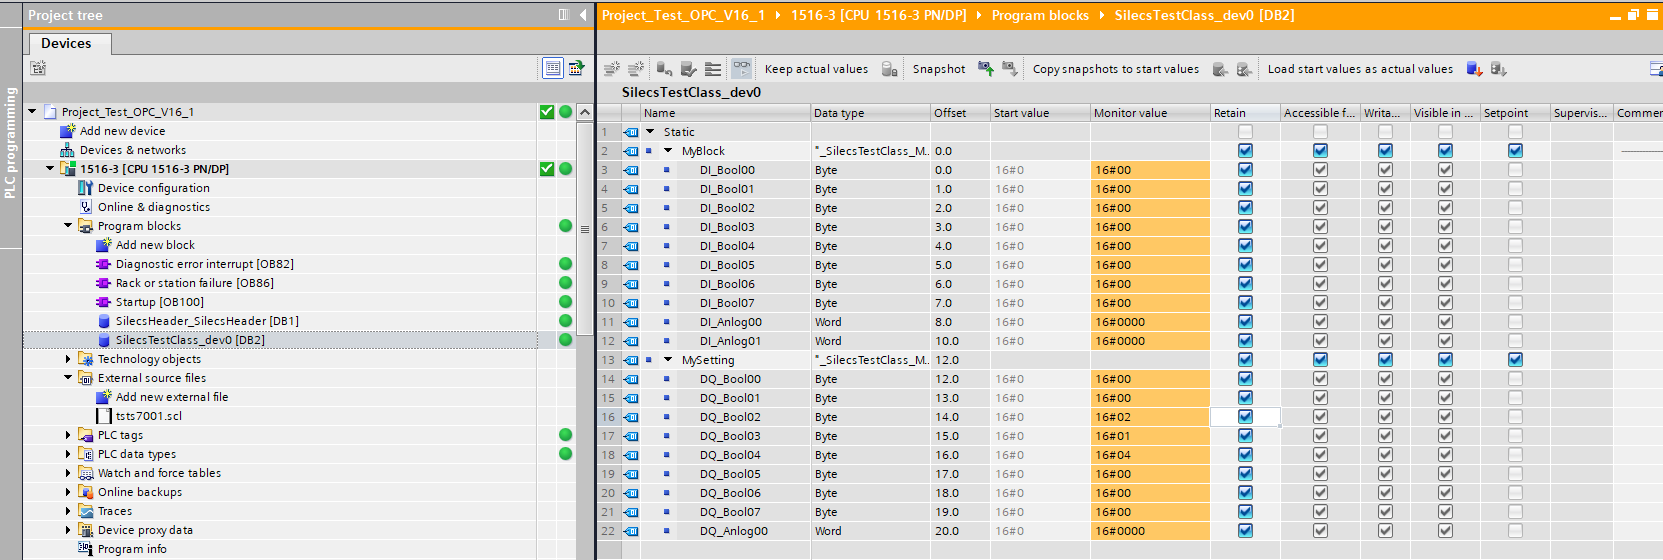
4. Choose scl file and generate data blocks from them. They will be named as you specified in Fesa.
 What is important, according to set base-DB-number in silecsdeply file , please change manually address of Silecs Header DB to match that base DB number.

5. Download changes to device (1), and go online (2) to check if you see data from new data block.


4. Test communication
To check communication, you can use SILECS Diagnostic Tool which can be run by command:silecs -d ~/path/to/workspace/MyClass/src/MyClass.silecsdeployAlternatively, you can also use silecs-cli-client.
Edit | Attach | Print version | History: r4 < r3 < r2 < r1 | Backlinks | View wiki text | Edit wiki text | More topic actions
Topic revision: r4 - 18 Aug 2022, AlexanderSchwinn
 Copyright © by the contributing authors. All material on this collaboration platform is the property of the contributing authors.
 Ideas, requests, problems regarding Foswiki? Send feedback


